So - what does tagging in Zendesk actually mean? A tag is a word or a collection of words that mark a certain type of ticket or topic, and add context to them - at a glance. For example, we can tag all general question as “FAQ-queries” and all technical questions related to the website as “bug” or “tech-queries”.
In the early stages, we typically use tags to:
- Quickly assess tag use to understand support request trends
- Use them to create specific views
- Easily find certain tickets using the search/browse button.
More advanced use:
- Using triggers and tags, we can push tickets with a certain tag to an assignee (Can be used to handle Urgent ticket) Blog post on this: COMING SOON ;-)
- Using triggers and tags, we can instantly tag and close unwanted and spam tickets. Blog post on this: COMING SOON!
Adding tags manually to a ticket
First things first, you would need to open a ticket that you would like to work on.
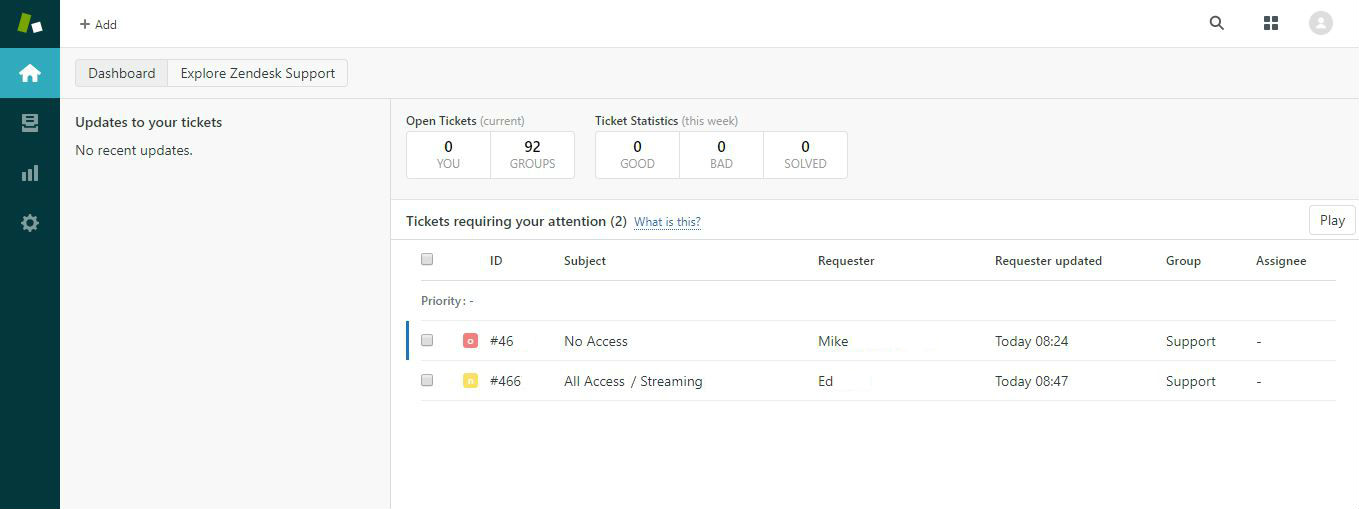
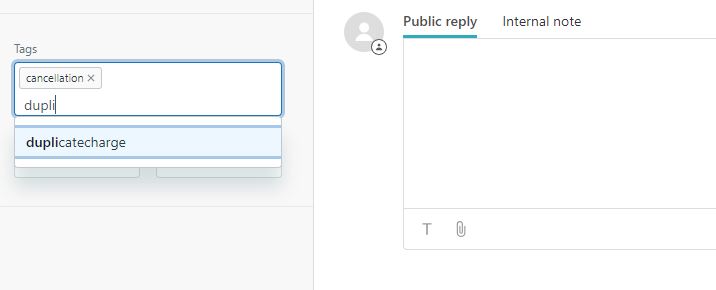
Next, you’ll need to put in the specific tag you’d like to use.
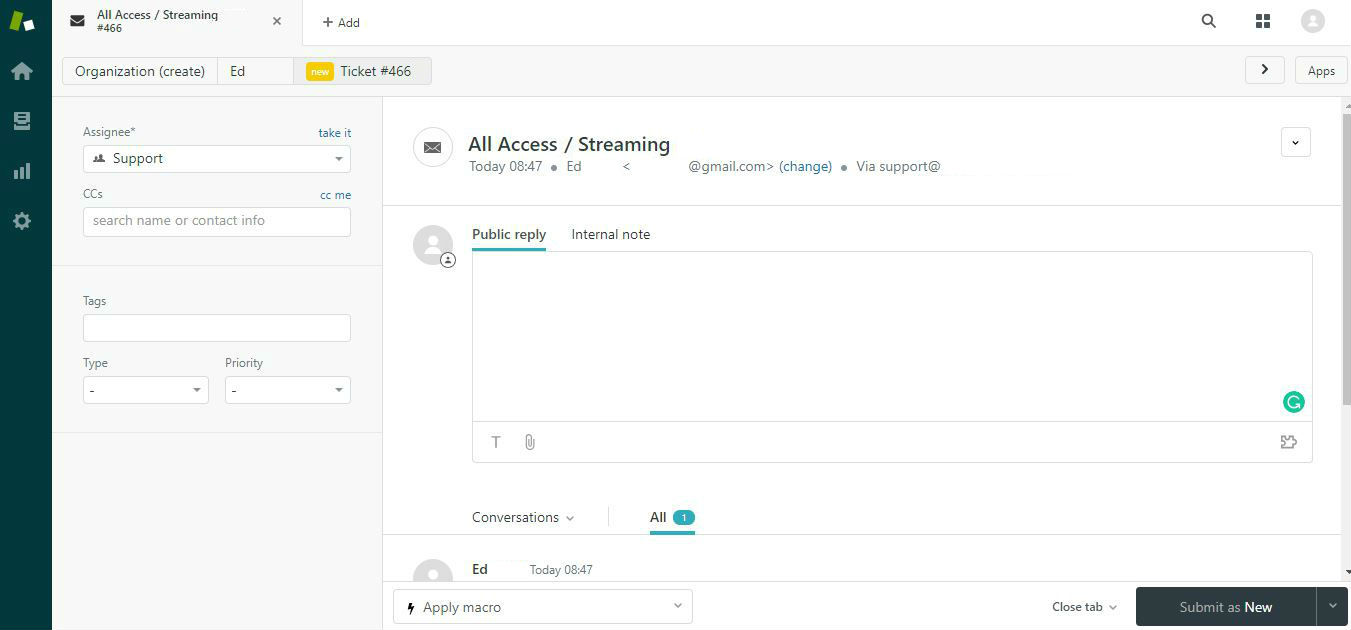
Simply type in the tag input area within the left side bar, then write back to the customer and submit the ticket. The tag will then be automatically generated.
Here’s another example using the word “Cancellation” to group up all queries asking to unsubscribe from our service/newsletter.
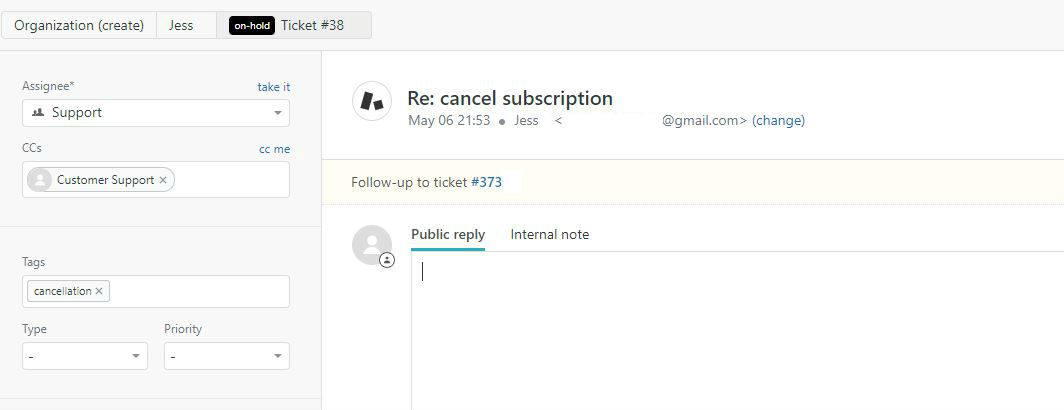
NOTE: If you’ve used a tag in the past, Zendesk will record and auto-complete the next time you use it again.
Finding all the tags you’ve used before
To look at all of our previous tags, you can simply click the Cogwheel, that’s your admin button.
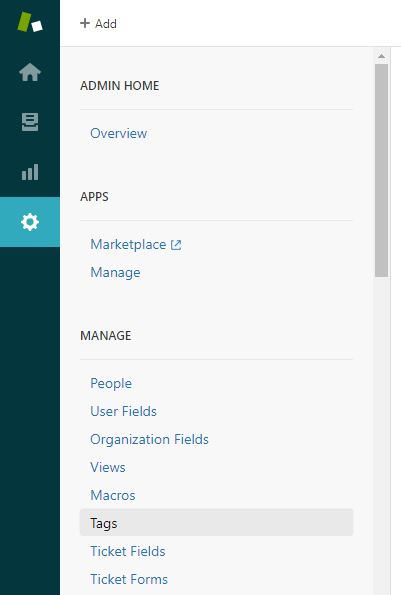
Navigate to ‘Manage’ (Admin Home, Apps, and - third menu from the top - Manage) and then scroll a bit more to find “Tags”
Be aware you need to be an admin to view all the Manage options.
Here’s what the Tags cloud look like.

If you click on one of the categories, for example, “Refund”
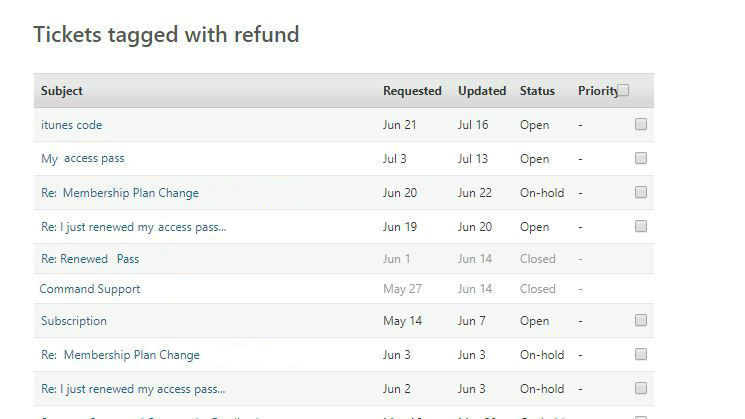
It’ll show you every ticket related tp refunds issue, their status and newest update, and even click on them to open the ticket and read the conversations.
This is especially good for QA purposes, allowing you to see if there is a correlation between what causes the customers to cancel their issue.
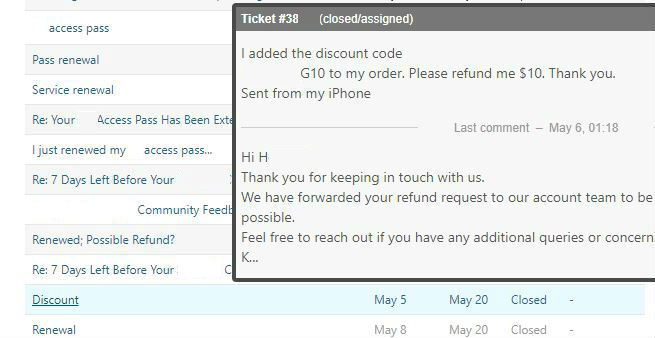
If you hover over them you can also see a snippet of the ticket.
Browsing for a ticket using tags
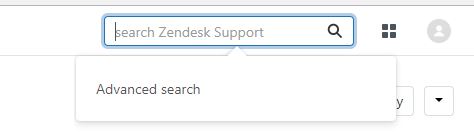
Firstly, navigate to the browse/search function.

Once you click it, the ‘Advanced search” option should pop up :-)
Which will open this page:
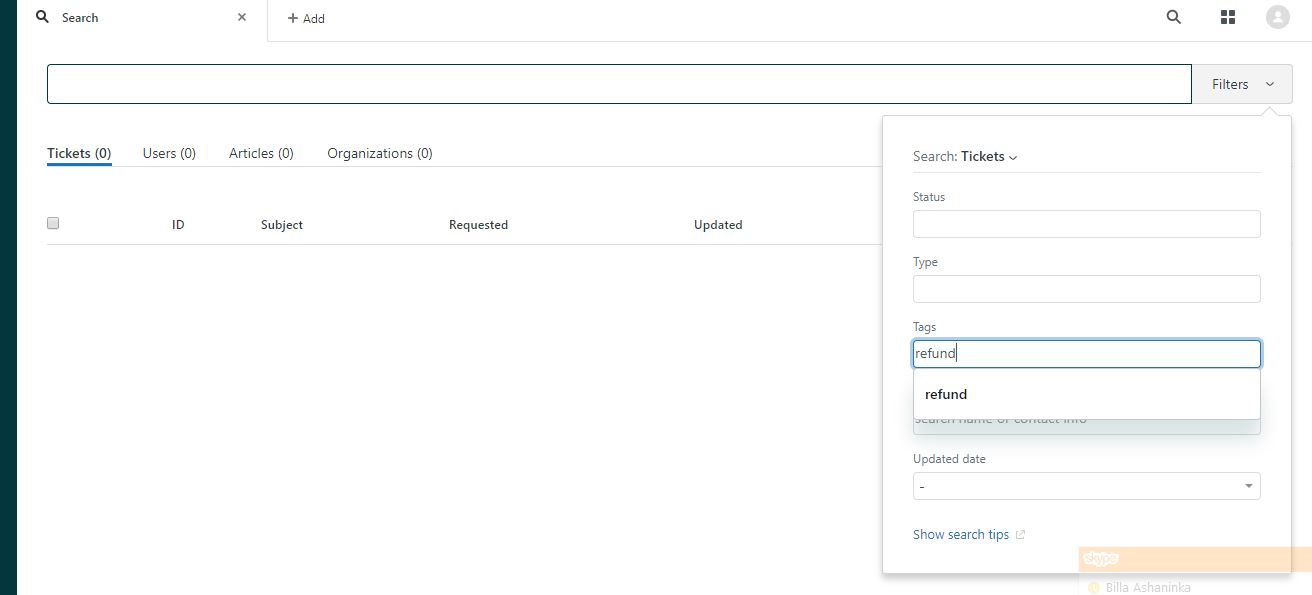
On the far right side, you’ll see the Filters drop down- if you click that, you will be able to narrow your search to a specific tag.
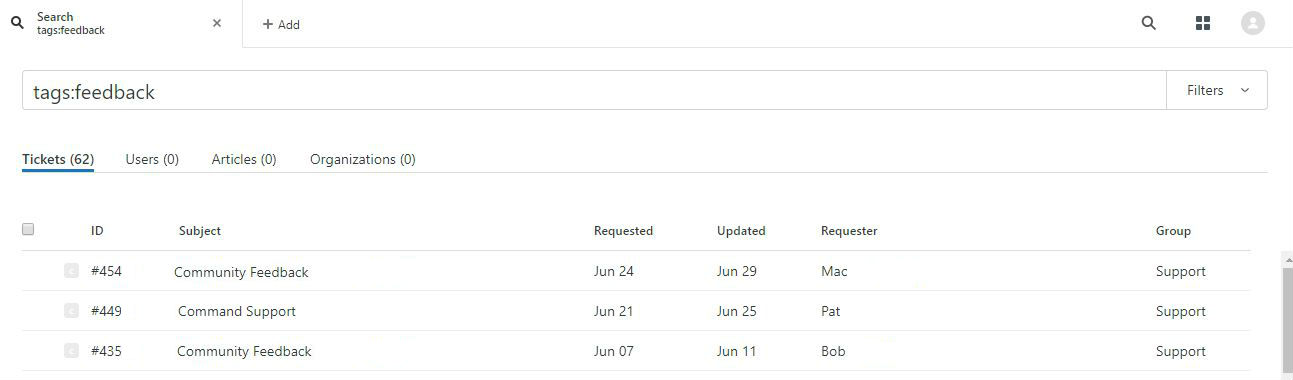
Here’s how it’ll look like if I search by tags: Feedback
And that’s tagging - wrapped up in a tidy little bow :-)

More Zendesk Tutorials
Find this tutorial helpful? We’ve published a few more:
If you would like to find out more about how we can help you with your support experience - get in touch!
Learn more about how five-star brands use Influx’s Support as a Service to improve CSAT and NPT.